How to undertake SCIM provisioning with Azure AD?
Vizmo SCIM integration with Azure Active Directory will allow you to provision, deprovision and change user profile details like name and email address in Azure AD, which automatically updates Vizmo Directory. You will no longer need to update both Azure AD and Vizmo Directory separately with these actions as it will all be synced from Azure AD.
Notes:
- SCIM integration is available to Vizmo Enterprise Plan customers.
- SCIM provisioning changes can only be synced from Azure AD to Vizmo directory, not the other way round.
- You can still create users manually in Vizmo directory if you have users that you don’t need or want to push from Azure AD, eg. contractors or temporary staff.
Configure SCIM Provisioning with Azure AD
- To enable SCIM Provisioning for Vizmo, first go to your location for which you want to enable SCIM integration and access Integrations.
- Click Add Integration, then click Add button of SCIM integration.
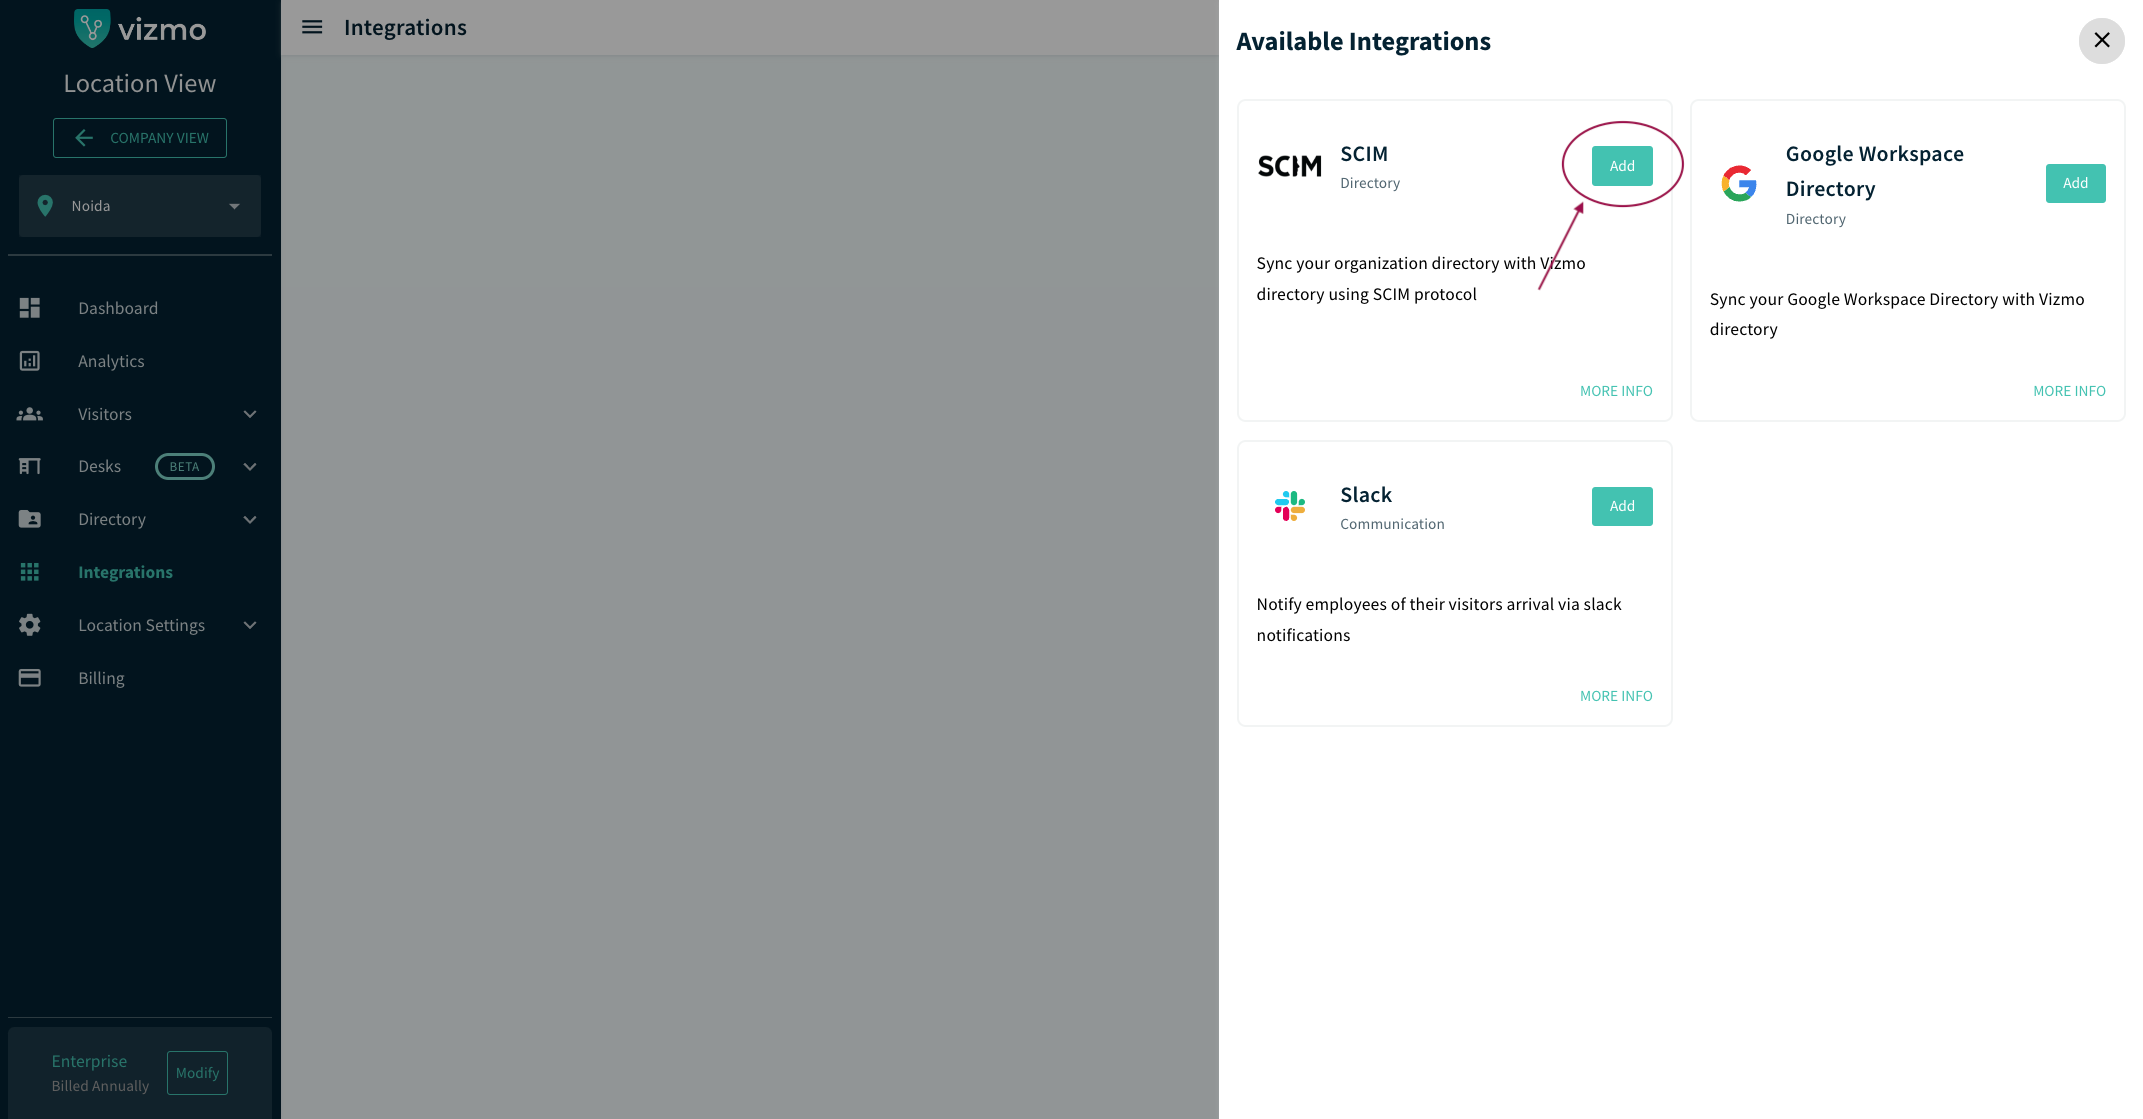
- Above step enables the SCIM integration for the current location and generates Tenant URL and Secret Token which needs to be used when setting up the integration in the Azure AD portal.
Creating a New Enterprise Application on Azure AD
- Access your Azure AD account.
- Go to Enterprise Application and check if there was any previous integration with the name of Vizmo.
- If not, click on New application
.png)
- It will then take you to browse for applications. Since, Vizmo is not a part of the gallery, a new application will have to be created on your Azure AD account
.png)
- Click on Create your own application and enter the name of your app. eg: Vizmo Delhi.
- Select the last option from the choices provided. ie: integrate any other application you don't find in the gallery (Non-gallery).
- Click on Create to start using this enterprise application
.png)
Note: A new enterprise application will have to be created every time an integration has to take place for a new location.
Steps to undertake Provisioning:
Admin Credentials:
- Click on the newly created enterprise application
.png)
- Click on Get Started or go to the Provisioning tab
- Select provisioning mode as Automatic.
- Expand Admin Credentials to enter Tenant URL and Secret Token details
.png)
- Copy the Tenant URL and Secret Token into Azure AD from Vizmo portal
- Click Test Connection to check connectivity.
Mappings:
- Expand Mappings under Provisioning
- Here, by default there are two types of directories that are enabled.
.png)
- Click on Provision Azure Active Directory Groups
- Disable Groups for Attribute Mapping as this function is not available for Mapping with Vizmo
- Save the changes
.png)
- Click on Provision Azure Active Directory Users
- Ensure that Attribute mapping is enabled.
- Save changes
.png)
Note: When userPrincipalName is not mapped to employee mail
- Click on userPrincipalName
- Edit Source attribute by selecting mail from the dropdown
- Click on Ok to confirm changes
.png)
Settings:
- Expand Settings. Here you can enter an email address if you wish to receive alerts from Azure about errors.
.png)
- Scope can also be changed if required between assigned and all users and groups
- Please make sure that the provisioning status is On to get provisioning information
.png)
Start Provisioning
- After the provisioning settings are done, go to the Overview page and start provisioning.
- You will be able to see the progress of integration on the Overview page. Provisioning can also be restarted if required.
Related Articles
How to add Employees to a location?
How to add Employees to Vizmo? Employees can be added by any user with Company or Location Admin access to their Vizmo account. Login to the vizmo dashboard.https://portal.vizmo.in Choose the location where the employee is assigned to. (Only for ...What is the Company View used for?
What is a Company View? The company view provides the company admin with a holistic view of all the locations that have been registered under Vizmo. It works as a central console for the Company Admin to visualise the details related to location, ...How to setup IdP-initiated SSO?
A new IdP-initiated SSO can be created for Vizmo by uploading the metadata from the authenticator to Vizmo and by updating the Acs url on the authenticator. How to setup IdP-initiated SSO? Go to the Vizmo web portal using: https://portal.vizmo.in ...How to integrate with Slack?
About Slack Slack is a messaging app for business that connects people to the information that they need. By bringing people together to work as one unified team, Slack transforms the way that organisations communicate. The integration with Slack ...